Part 3: Installing the Dashboard CubbyRequirements:- 1 Eurovan Dashboard Cubby

- Phillips Screw Driver
- 13mm Socket w/Driver
- Side Mount Hardware Option 1 (OEM): M5x22 Hex Head bolt w/ speed nut/clip and one bolt cover cap (NLA).
- Side Mount Hardware Option 2 (Lowes) : M8x25-35 bolt w/speed nut/clip.
- 2 Filister Head Screw: M4x22 (See step 1 below)
- 1 Filister Head (Eurovan dash panel) Screw: M4x32 (See step 4 below)
- 1 Zip Tie
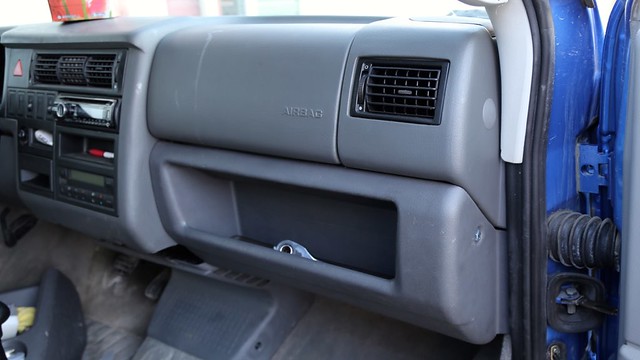
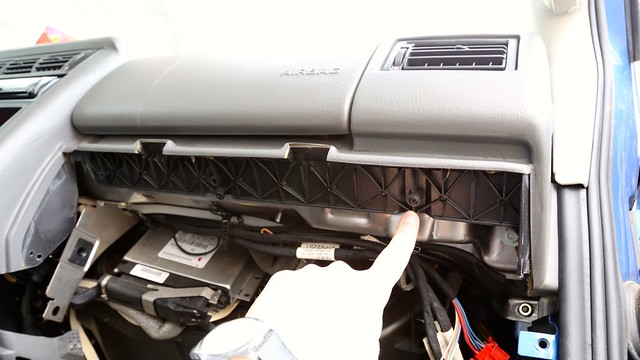
Procedure1. With knee bolster removed, check the black horizontal bracket for two M4x22 filister head screws and remove them. These two screws will be re-used in securing the cubby on the upper left and and upper right screw mounting positions (see image in part 1).
2. Install the speed nut/clip over the plastic tab on the right hand side.
Note that if you are using a nut with an extended thread (like I am) that you should face the extension inward as there is very little clearance with the cubby.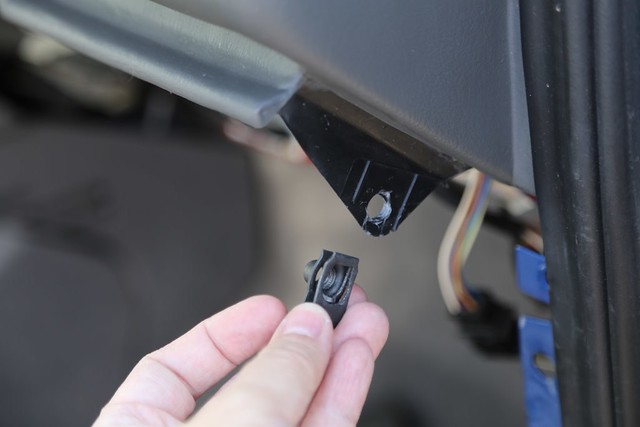
3. Position the cubby onto the dashboard. The cubby has two tabs on the back of it along its top edge. Those tabs should sit ontop/above of the notches (shown in step 1) -- fit this first and then rotate the cubby down into position, tucking it behind the weather stripping. The cubby should be snuggly fit in place and the reveal parallel to the bottom of the airbag panel.
4. Fasten the cubby to the dashboard bracket using the top 3 mounting positions.
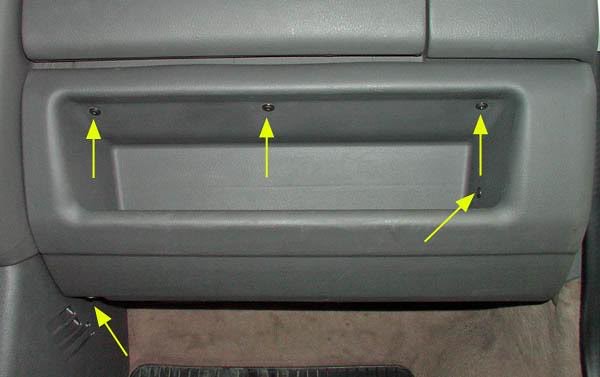
Note the following screw size/locations as the centre top screw position will need to be a longer M4x32* screw:
- Top Left: M4x22
- Top Centre: M4x32*
- Top Right : M4x22
- Bottom-Right: NA
- Bottom-Left: Zip tie to bracket
* This screw can be repurposed from the dash fittings where it is used in less vital/visible locations -- such as the lower mid panel, or holding the lower cup holder to the centre console.
Eurovan Dash Mounting Screws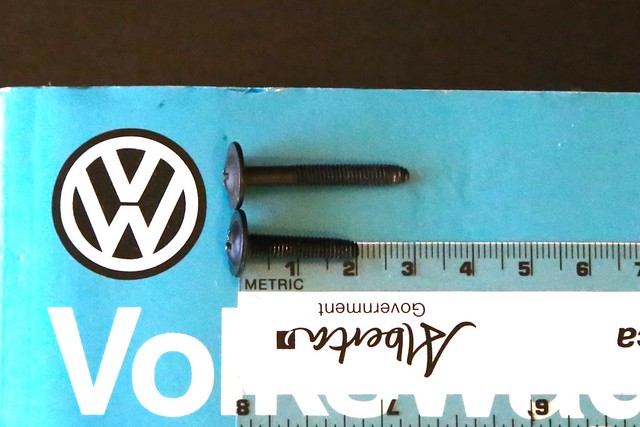 Top: M4x32 sourced from lower cup holder
Bottom: M4x22 - sourced from cubby mounting bracket5. Secure the final mounting bolt through the side of cubby to the speed nut. You should be able to reach in behind the cubby upto the speed nut location to help get it aligned with the bolt. Do not over tighten as the tab is just plastic and could break easily.
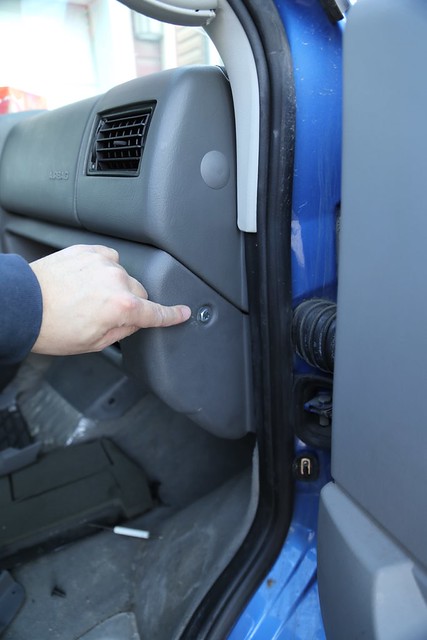 Note in this application I am using the M8 bolt and no bolt cover.
6. Reinstall the centre console lower mid panel and the black panel that sat beneath the bolster. The black panel's push-in fittings are not used with cubby, but the panel should still be able to tuck up in behind and then back onto its mounts for a secure position.
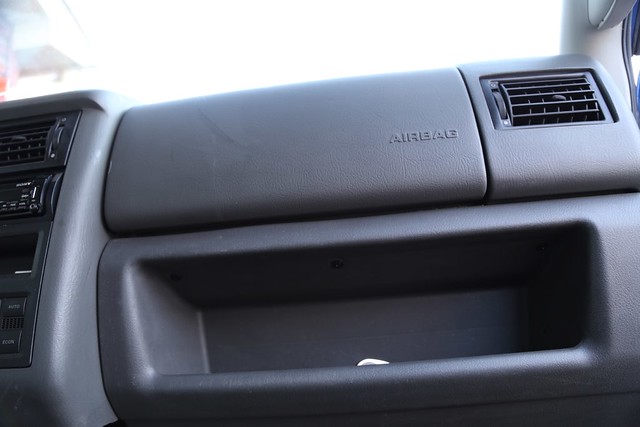
Finished and ready to use!