Show Posts

This section allows you to view all posts made by this member. Note that you can only see posts made in areas you currently have access to.


Topics - Cole

Pages: 1 [2] 3
16
CaveVan Stuff / CaveVan Shirts! Get yours!
« on: August 14, 2015, 10:12:17 am »
I have been working with one of our other CaveVan members here to have some T-shirts made with the CaveVan logo.

The plan is to offer an initial run of shirts to those that pre-order.  Your input here will help us to know what colors and sizes are most popular so that we can stock some that can be ordered in the future. Now will be your chance to have any color you want though!!!

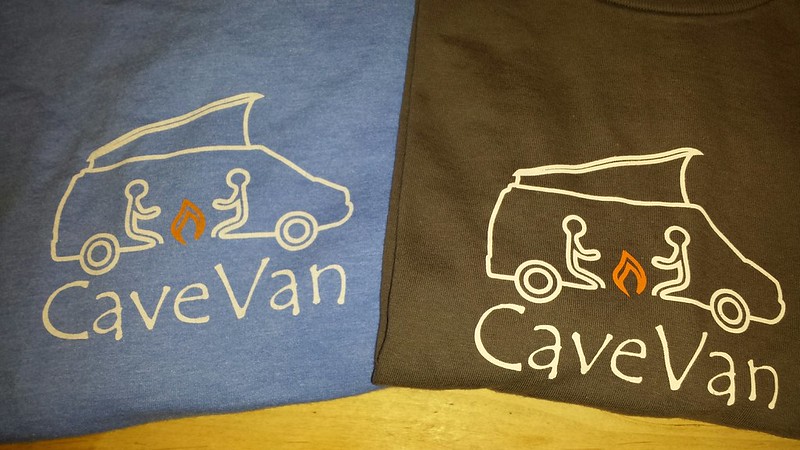
We have narrowed down the choice of shirts to 2. Either 100% cotton or a 50/50 blend. Rob was nice enough to print and send me one of each to test.  ;)

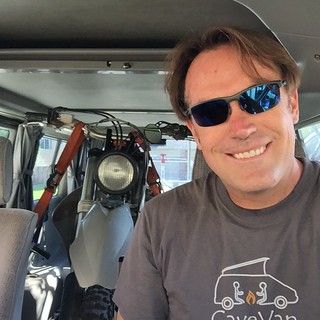
I wanted to actually wear and abuse these shirts before deciding that they were a good choice to put the worlds coolest logo on ;D  I've been washing and wearing them daily for weeks now. Crawling around on the ground and generally abusing them ;) Sometimes wearing far more than washing :o Just to see which one absorbed and stored sweaty stink more than the other :o Fortunately the 95* temps have helped out with this testing ;)

My personal preference so far is the blend. It comes out of the wash fresher and less wrinkled. It also doesn't seem to hold sweat nearly as much.

Both are wearing about the same at this point.

I will update this topic in a few when Rob gets me the color choices and sizes. Then you can tell us what you want over the next few weeks. Initial shirts we think will be $25 shipped in the lower 48.

These are some of the test shirts that were printed for Rob and his kids!


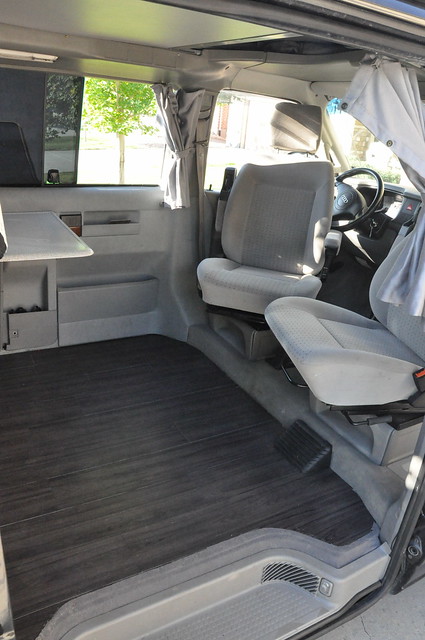
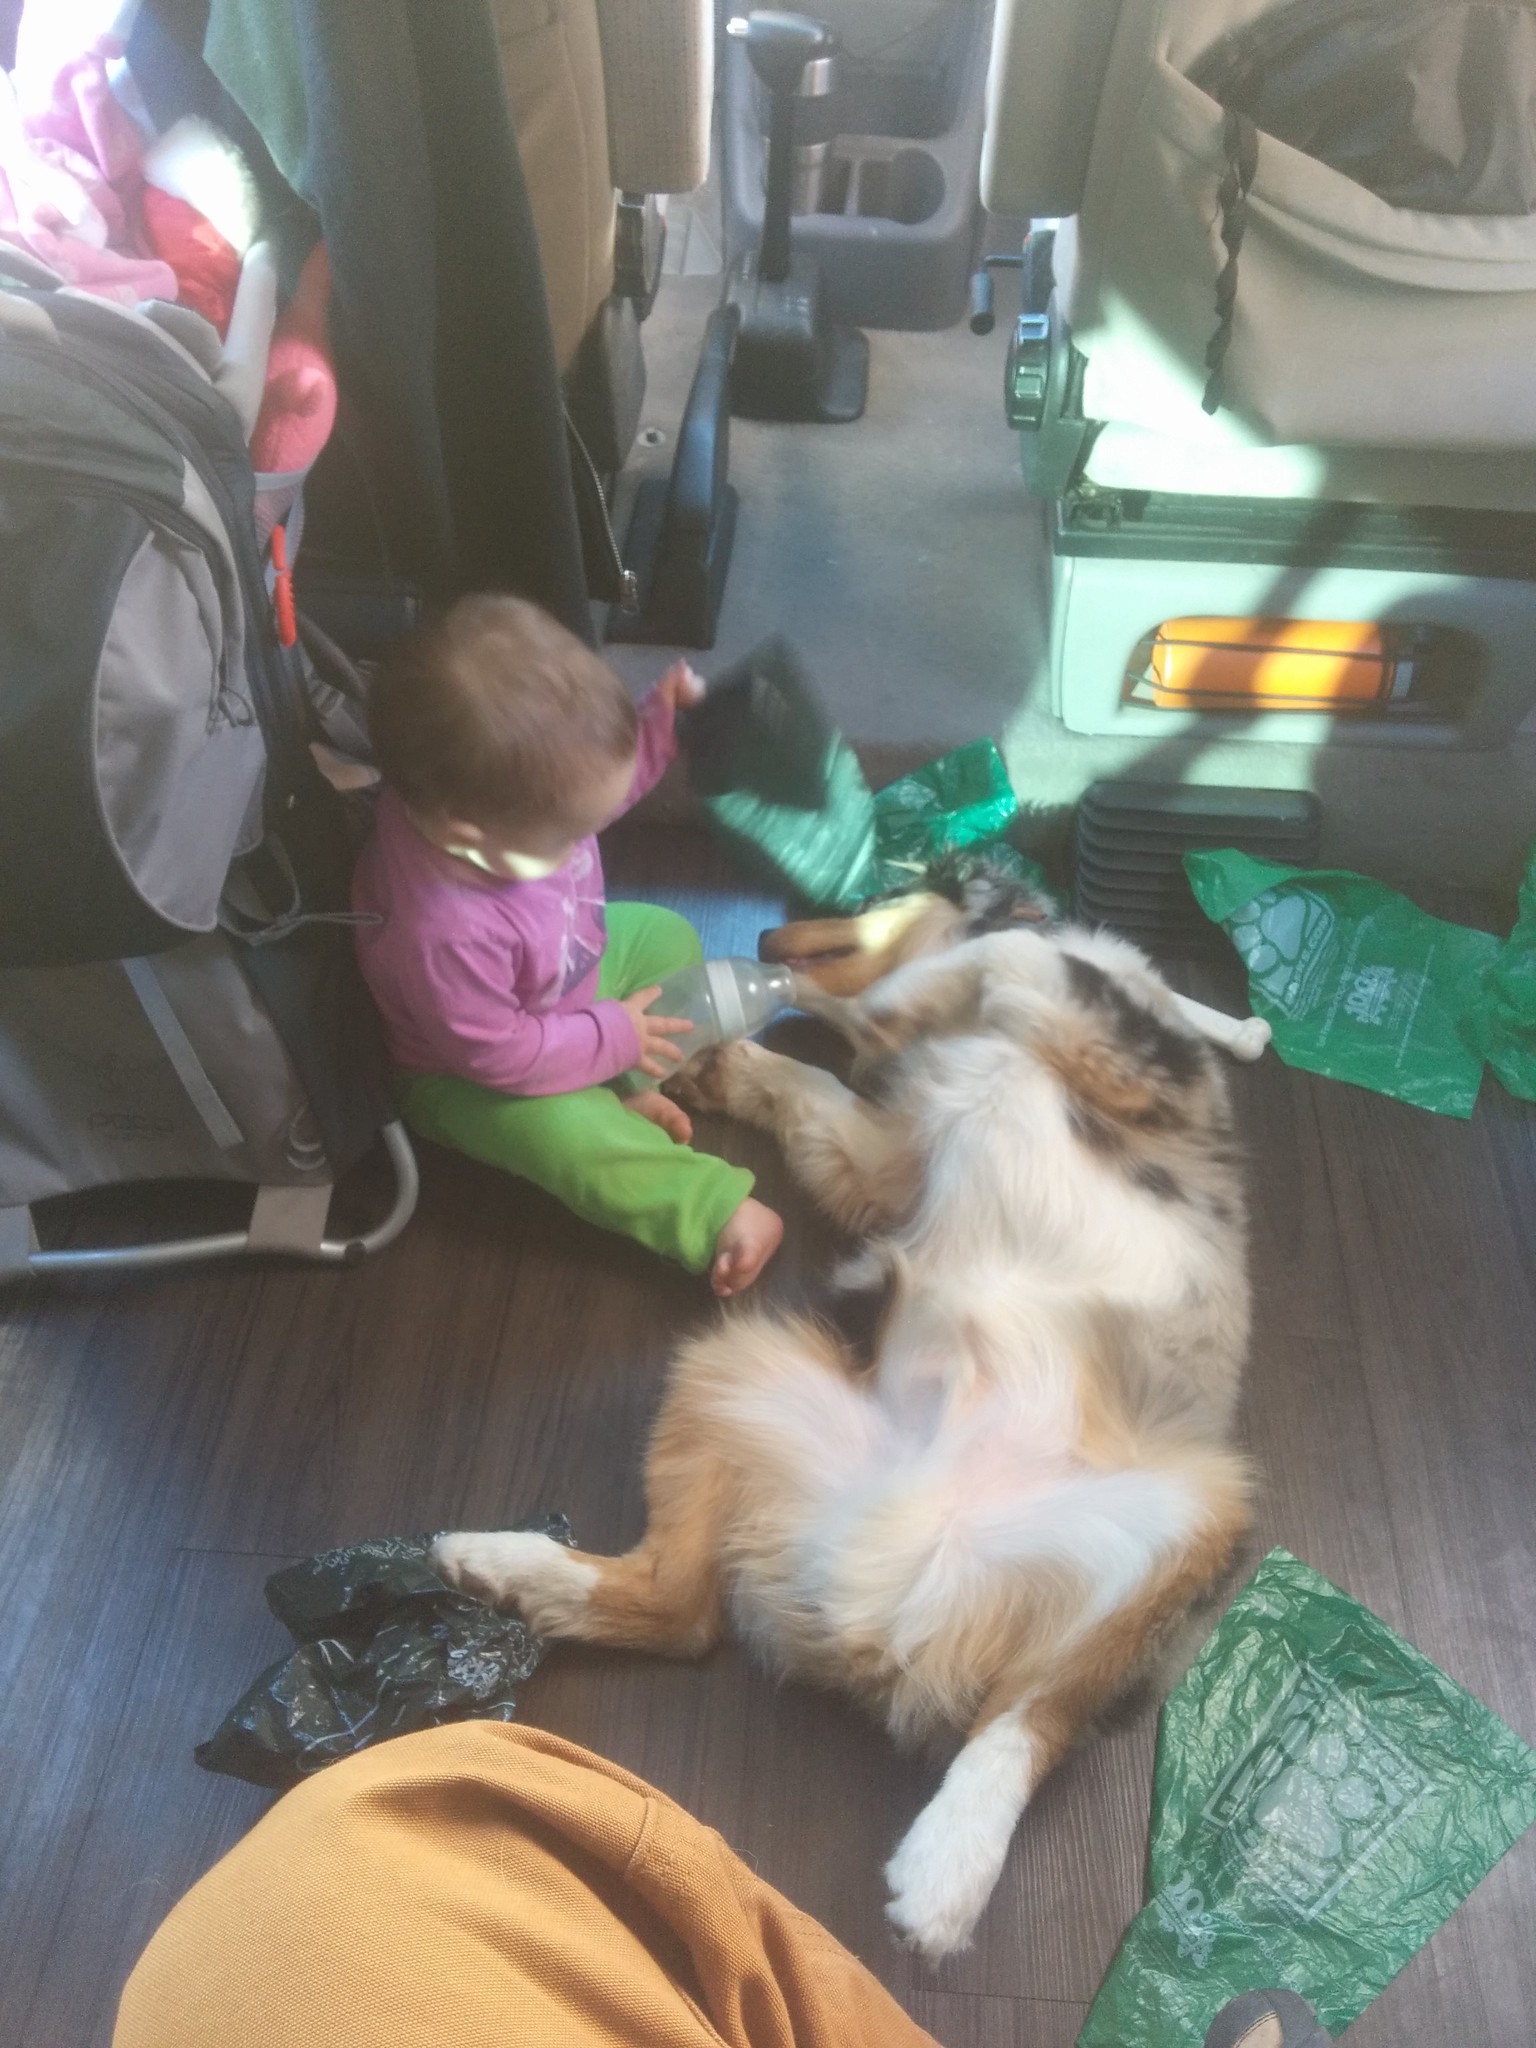
As you can see no animal testing was done, we used only real children! ;)(in a real Eurovan)


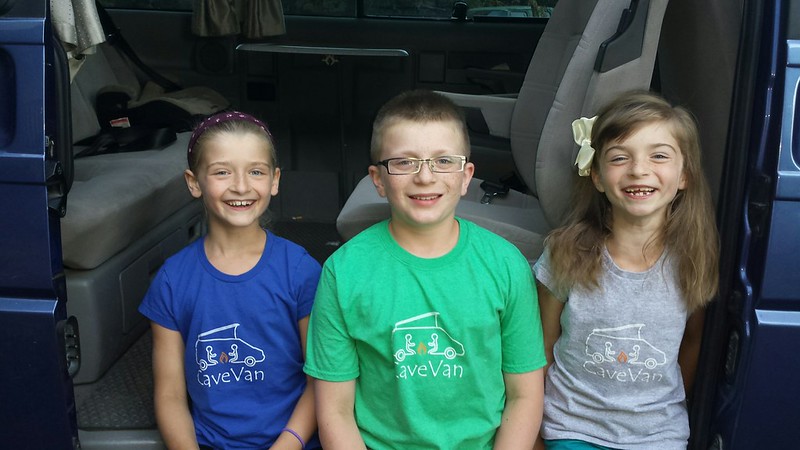
Test shirt!! KTM and Syncro T4 testing day 8)


17
There seems to be some mystery out there about what the aux battery does exactly in the Winnebago camper, how its hooked up, and what the upgrade options are.

Lets bring all the minds and resources together to create a great thread of information and resources on the topic.

If anyone has good links, diagrams or pictures please post them. If we have enough I will update this first post with all the resources for future owners to find.

18
There seems to be some mystery out there about what the aux battery does, how its hooked up, and what the upgrade options are.

Lets bring all the minds and resources together to create a great thread of information and resources on the topic.

If anyone has good links, diagrams or pictures please post them. If we have enough I will update this first post with all the resources for future owners to find.

The Weekender (poptop) is the only version of the short wheelbase van in the USA to get an AUX battery.

It's located under the driver's seat and was intended to power the rear cabin lights, two rear 12v outlets (except on 1993), and the cool box that was located under the rear facing driver's side passenger seat.

The battery is connected to the vehicle charging system (alternator) by a relay. When the key is on the aux battery, main battery and alternator are all connected and charging. When the key is off, the two batteries are separated so that you don't drain the main starting battery while camping.

One of the mistakes people tend to make is using the radio while camped. The radio is connected to the main start battery and NOT the aux battery. You need to make some wiring modifications to change this.

Because many people remove the cool box, the aux battery goes largely unused. It's a fairly expensive battery to let waste away. For this reason, I think most average users would get more use out of a "solar generator" system like a Yeti 400. (provides 12v/120v outlets, etc.)

The driver's side seat base has a built in battery tray. It will accept a larger battery.Though the stock one is already too tall to run a seat swivel. So you need a shorter battery to do that.

 If you also wanted to add a second house(aux) battery under the passenger seat you would need to source a second driver's side seat base for a factory like fit.

One of my favorite threads on house/Aux battery systems is this one from Expedition Portal. Lots of good basic info and diagrams there. Especially if you wanted to add solar to the van.

http://www.expeditionportal.com/forum/threads/77503-How-to-make-a-cheap-isolated-dual-battery-setup-for-50


19
A while back a guy showed up on my door step with TWO Eurovans. One was a low mileage hardtop MV that he wanted converted to a poptop Weekender. Turned out to be one VERY sweet van when done!!


The second van was a teal 1993 Westfalia that was supposed to be the donor van for the interior trim and poptop parts. When I saw the "parts van" I just couldn't bring myself to tearing it apart! After all, he DROVE it 600 miles to bring it to me!  I've torn apart many used up, rusted out, crashed, end of life vans to make my conversions. This van was none of the above. It needed some love for sure, but not "pull the plug" on it type of love.

I dug out another complete top swap I had been saving and used that to convert the 2003. Thus leaving the 1993 van intact. No idea what I was going to do with it at the time.

Here is a touch of what looked like when I got it.


Soon, A deal was struck to recycle this van into a mobile art studio van for a San Diego artist. 

20
I just started some work on a great low mileage(56k) 2003 Eurovan Westfalia weekender for a cool guy named Bob.

Despite being a low mile van it still needs a little cleaning up and some custom bits to truly make is "Bob's van" and not just another generic Eurovan.

Bob also has a 71 Bus but wanted something a bit more modern no powerful to travel in.

Every cool van deserves a nick name. When Bob dropped off this van it has a pile of Bob Dylan CDs in the front seat. So what better name for the van than Dylan? ;)


Here is the van the day he dropped it off!


I know most people don't car or notice stuff like this but the complete lack of paint on the two hooks drives me nuts. So I'll be touching up all the little details like this that I can .


Top seal is coming off. This is pretty typical of these vans. The seal dries up and the glue loses its  stick.


21
General Discussion / The great license plate exchange!
« on: June 21, 2015, 03:21:18 am »
I've developed this pile of extra license plates over a few years.

I'd love to trade my extras for ones from other states. Working towards having one from every state instead of all the duplicates.

I'm sure many of you in other states have the same thing going on. So this is the place to make the trades with others!

I've got about 20 Colorado plates (not all pictured). Some are speciality plates so you will need something equally special to trade.

"10th Mountian Division" Plates
A "collector vehicle plate.

Plus duplicates of Minnesota, Maine and California. Triplicates of Iowa, 1 personalized plate.


Also a bunch of motorcycle plates!


22
Interior! / Show us your switches!
« on: June 20, 2015, 07:22:18 am »
Recently picked up this 1993 Eurovan Westfalia and the dash got me thinking about switches!

Show off any switches you have added and what they are for!


23
Interior! / Seat cushion swap, jump seat to driver's seat.
« on: June 20, 2015, 07:01:56 am »
I recently pickup up a 2001 Eurovan MV to convert to a Poptop and sell. Unfortunately when it arrived I discovered that the driver 's seat had been broken down and the foam was no longer useful or comfortable.


You can see here that the side bolster is broken away from the main foam and the heated seat element torn.


Fortunately I've got a collection of extra jump seats  ::) 
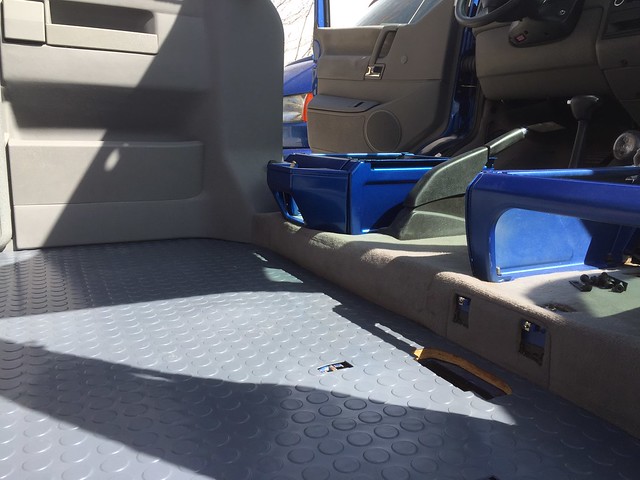
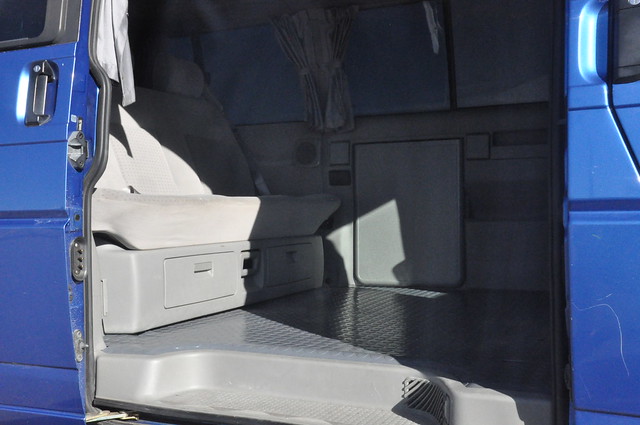
Jump seats are a good source for the foam since they are rarely used or most of their use is by light weight kids!

Taking the cover off the rear jump seat and transferring the cover and foam to the front seat will restore the front seat. (Obviously missing the heating element at this point, but I will upgrade them to aftermarket units later)

Here is the finished driver's seat. Also the jump seat pan just so you can see what they look like without the foam and cushion on them.


24
Shiny things you no longer want / 1993 Eurovan Weekender $6,000
« on: June 17, 2015, 02:52:44 pm »
I've got a deal if anyone knows of someone that wants a Weekender.

1993 Weekender, one owner van!

High miles but well taken care of Colorado van. 301k

Needs some minor work but it's a cheap entry price.

$6000

25
Shiny things you no longer want / Jump seats and cooler seats.
« on: June 09, 2015, 04:07:25 pm »
I really don't want to ship these  ;) Located in Aurora, Colorado.

I've got 3 Eurovan Weekender "Cooler" seats. Two coolers. I late model seat and two 1993 seats.

I also have 2 MV jump seats from an MV.


None of these are perfect.  :-\

Make me an offer. We can piece together a little from each set to make the best seat for you. Last guy to buy ends up with the scrappy one :o

26
Inline 5cyl Petrol engine tech / Turbo!!
« on: June 08, 2015, 07:32:22 pm »
I've read a few accounts of the I5 in these vans being turbo charged.

Seems fairly simple since the Audis came with a variation of this engine with a turbo! Both in 10v and 20v configurations.

The Audi guys actually like to use the EV cranks to build larger displacement stroker engines.

I've seen the cars put out upwards of 1,100hp (not a typo :o)

Seems that a very mild 200-250hp set up would make a huge difference on the Eurovan!


27
Interior! / Show us your stereo!
« on: June 08, 2015, 07:19:01 pm »
I've been sitting here researching car stereos. There are some amazing units for cheap these days.

But, I'd like to see what everyone is using.

Be honest, tell us how you like it.

Show us pictures so we can see how they look in the Eurovan!


Just to keep this interesting. I installed this in "Night Fury" for the new owner.

It was a few years old. $600ish new, but today I think you can buy better stereos with more features for right around $100.

I also painted parts of the face and trim to make it look nicer in the van.


28
Westfalia / Replacing the carpet with vinyl (or other) flooring.
« on: May 29, 2015, 03:39:49 pm »
I've removed and replaced a bunch of Eurovan floors now. This thread will be part information bout the flooring found in these van and partly how to install new stuff.


The first thing you need to know is at the stock flooring is not all the same. The GL/GLS passenger vans have foam and rubber backed carpet. This is very soft to kneel on and great for a passenger van.  The vans with the rear bed from Westfalia, the MV and Weekender, hve a thin layer of carpet stuck to a wood subfloor. This is to provide a hard surface for the bed to roll on.

Installing a rear bed into a GL/GLS without changing the flooring makes for a very difficult to operate bed as it just sinks into the soft foam carpet.


It's possible to replace the stock GL/GLS carpet with a wood floor but I'll get into that later.

Not the best picture, but this is MV flooring without its top layer on it in front and GLS  pure carpet in back.


The stock carpet in the MV/Weekender seems to soak up and store dirt, mildew, mold, etc. it lets liquids pass right through it into the wood subfloor.  When you pull the stock carpet up you may be amazed at what stains are in the subfloor!

The stock wood subfloor is glued into the van and nearly impossible to remove. So it's best to leave it in place and work with it there.

Remove all the seats, seat brackets, bed brackets, and door trim from the rear hatch and slider. The slider door trim just pulls straight up. No need to remove the interior trim pieces. The carpet is just tucked under them.


The carpet is glued down. Sometimes it will just pull up, other times you need to scrape, chisel, pull, and sand it off. Start at the slider door and start pulling. It may come off in chunks.


I go over the floor with a sander to get it totally free of glue and old carpet bits before installing a new floor.


This is a vinyl plank wood look over the wood subfloor. Its much heavier than you might think. It scratches and looks dirty constantly being a dark color. It should also be noted that to do this you need to make a custom carpet trim piece for the doorway. This piece get a lot of traffic and is hard to make last a long time.


I put my flooring through a lot of testing!!


After testing out a bunch of stuff I don't have pictures of I came up with the solution below. This is the stuff I have for sale on the main portion of this site. It's a flexible poly-vinyl flooring. It can be laid down in two large sections just like the stock carpet. Which makes if far more water and gunk proof than the plank or tile floors. It also curves to match the slider entry way and rear door trim. It's durable and looks clean even when its not.


It also matches the existing grey interior color for a factory look.


Different van, Just also happens to ve techno blue.


29
Exterior / T4/Eurovans with custom paint!
« on: May 19, 2015, 10:36:58 am »
Have a cool custom paint job? Or just found a cool picture of one? Post it here.


30
CaveVan Stuff / Free CaveVan Stickers
« on: May 19, 2015, 10:03:26 am »
We hand make these 2 color reflective stickers.


Just PM me your address if you want one. The only catch is that I want a cool picture of it in return  ;) You can post them here!


You can also post them to Instagram too if you like!


Pages: 1 [2] 3